Monday, July 21, 2014

Back to Reality

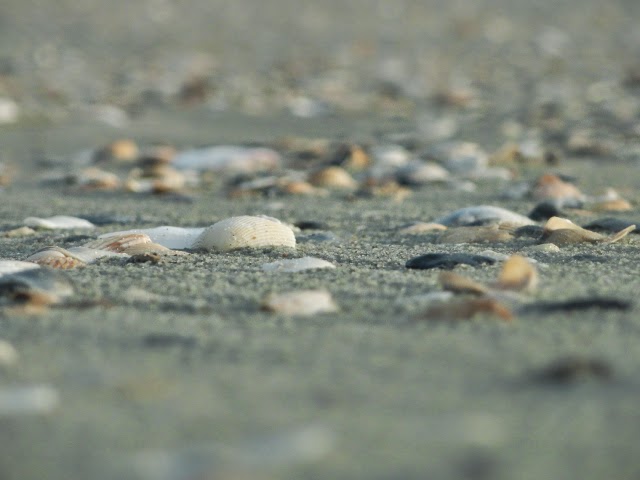
No sewing these days, because we just returned from our first-ever beach vacation!  We did a family vacation this year, and with two 3-year-old grandchildren, the beach was an ideal destination.  We rented this lovely home in Ocean Isle Beach, NC.  It was perfect!

I took lots of pictures, of course, but with all the blowing sand and salt air, the lens on my camera has frozen up and stuck shut.  Fortunately I was able to view my pictures and download them onto my computer, but I can't take any more.  Guess I'll just have to start shopping for a new one.  :)

I've been using a Sony Cyber-Shot DSC-H55 Pocket Camera, and have been very happy with it, but I'd like to step up to a DSLR if I can find one that's not overly expensive, so if anyone has any suggestions of what to shop for, I'd love to hear about it!  What camera do you use?

Since I don't have any sewing projects to share with you today, here are some of my favorite vacation pictures instead.


Now I need to spend some time at my sewing machine this week and get some work done!

Cheers!

Tuesday, July 8, 2014

Tasting Table Tuesday - Urban Runner

Have you tried the Quick Curve Ruler yet?  I've been following Sew Kind of Wonderful for quite some time now and I just love the quilts that Jenny Pedigo makes with this ruler.  (Her style of quilting is pretty amazing also!!!)  My daughter-in-law gave me an Etsy gift card for my birthday this year, so I used it to buy this ruler.  It's been on my wish list for ages.

The ruler comes with the Urban Runner Pattern included, so I decided that was a good place to start.  It's a small enough project to give the ruler a try and see how it goes.  I love how this turned out!  I used some Kona solids that were in my stash, and I have a grey & white tiny daisy print to use for the binding.
The piecing went pretty well.  A couple of my seams don't quite match perfectly, but close enough...  I used basting spray to baste this table runner, since it's not too big. 
I tried some new quilting designs this time, a little more on the modern side - still fairly simple, but more than just my typical straight lines.  I used my walking foot to echo the curves on the green and blue, using a variegated green thread.  I believe it's called Fantastico by Superior.  It was a free sample I got at MQX and it was just right for this project.

Then I used gray Sew Fine and free-motion quilted a ribbon candy design in the center of each chain, did straight horizontal lines around the outside, and curved cross-hatching down the very center of the runner.  I used a curved ruler for the cross-hatching.

It was dusk when I took these pictures, so they're not the best, but here's a shot of the back, just to give you a better idea of the quilting.
Binding is next...  then it's off to live at my local quilt shop for a while.  Tracy just started carrying these rulers, so she's going to borrow it to use as a sample for a little while.
If you want to learn more about this ruler and how to use it, there are three great videos on the Sew Kind of Wonderful website that teach you everything you need to know.  Check it out!

Cheers!


Wednesday, July 2, 2014

Oxford Shirt Dress

My granddaughter came for a visit this week, so I gave her the new "Men's Oxford Shirt Becomes Toddler Dress" that I made a couple of weeks ago.  It fits her perfectly!  She loves wearing dresses these days, so the timing couldn't have been better.  And it was very hot and humid during their visit, so a cool cotton dress is just the ticket...


Tuesday, July 1, 2014

Tasting Table Tuesday - Basting Wall Update

I have been raving about my basting wall for some time now, and while it worked very well for me, it wasn't very pretty.  If you remember, I hung two old (mismatched and discolored) cardboard dressmakers pattern boards on the wall, and pinned each layer of my quilt to the board with straight pins.  Then I would use quilter's safety pins to pin all the layers together.

The only wall space I have available in my house, is in our bedroom.  Those tatered, old pattern boards looked pretty nasty, I have to admit.  So I decided to upgrade.
Here is the OLD basting wall...

And here is the NEW, improved version!
I used these styrofoam panels from Lowes that are really designed to insulate garage doors.  The great thing about these panels is that they have a tough plastic coating on the exposed side of the panels.  That gives a nice clean smooth surface against my quilts, and keeps the foam intact when pinning.  They were a special order item but I learned that if you place the order from a store computer they ship for free!

I only had to trim the bottom two to fit my space.  The top four are right out of the box.  I put strapping tape around the outside edges of the panels to keep the edges neat and also kept the shop vac handy while cutting.  Those little bits of foam go everywhere!

There are eight panels in a box, and I only used six for my space, so I still have two panels left.  I will probably wrap each of them with a piece of batting and make a pair of portable design walls.

To mount the panels on the wall, I basically followed these directions for making a design wall that I found on The Quilting Edge blog, attaching them with Command Picture Hanging Strips.  So far, they seem to be working.  I'll let you know after I've basted a quilt or two if they stay on the wall.  I followed all the instructions, including cleaning the wall with alcohol first, applying firm pressure for 30 seconds, and waiting an hour before attaching the panels.  Hopefully they'll stay up...

This is a dual purpose wall, because if I want to use it as a design wall, all I have to do is pin a piece of batting to it and I'll be all set!

One thing I should point out, if you're considering these...  I chose them because of the size and the plastic coating on the exposed side.  I did not realize that there are grooves cut into the back side.  This allows the panels to flex when installing on a garage doors - their intended use.  I don't think this will be an issue, as there is still enough foam surface to pin into, but it was a bit of a surprise to me, since Lowes doesn't mention it in their product description.
Just thought you might want to know...

Cheers!